In this post I’ll explain you how to deploy NPMPlus as a TrueNas Scale plugin from the plugins market AND make it run with CrowdSec. There is also the possibility to deploy it using Docker Compose, this solution is explain in the NPMPlus repository.
Small recall, the docker compose deployment will deploy in the same docker engine NPMPlus and the CrowdSec Security Engine and manage the communication between Nginx CrowdSec Bouncer and CrowdSec Security Engine.
Firstly I strongly advise you to read the documentation of NPMPlus in order to understand how NPMPlus + CrouwdSec docker compose deployment work.
This post will explain you how to deploy the CS Security Engine on it’s own, make sure that the CS Security Engine process the Nginx logs, and make Nginx CS Bouncer communicate with it.
The first step is deploying NPMPlus from the plugins market. To do that, login on the admin GUI of your NAS, go to Apps > Applications > Discover search for Nginx Proxy Manager Plus and click Install. During the installation process, you should add :
- Container Configuration
- Environment Variable # Every one you want following https://github.com/ZoeyVid/NPMplus/blob/develop/compose.yaml and the one describe in https://github.com/ZoeyVid/NPMplus/blob/develop/README.md#crowdsec
LOGROTATE = true- INITIAL_ADMIN_EMAIL = …
- INITIAL_ADMIN_PASSWORD = …
- Environment Variable # Every one you want following https://github.com/ZoeyVid/NPMplus/blob/develop/compose.yaml and the one describe in https://github.com/ZoeyVid/NPMplus/blob/develop/README.md#crowdsec
- User and Group Configuration
- User : 568
- Group : 568
- Network Configuration # Up to you, still
- Add port for management GUI
- Add port for standard traffic (HTTP)
- Add pour for SSL traffic (HTTPS)
- Storage Configuration # You should add an Host Path as default data storage
- Type : Host Path (Path that already exists on the system)
- Host Path : /mnt/tank/npmp # as example
- Label Configuration # Up to you
- Resources Configuration # Up to you
Now try to run you NPMPlus, you should be able to access to the GUI
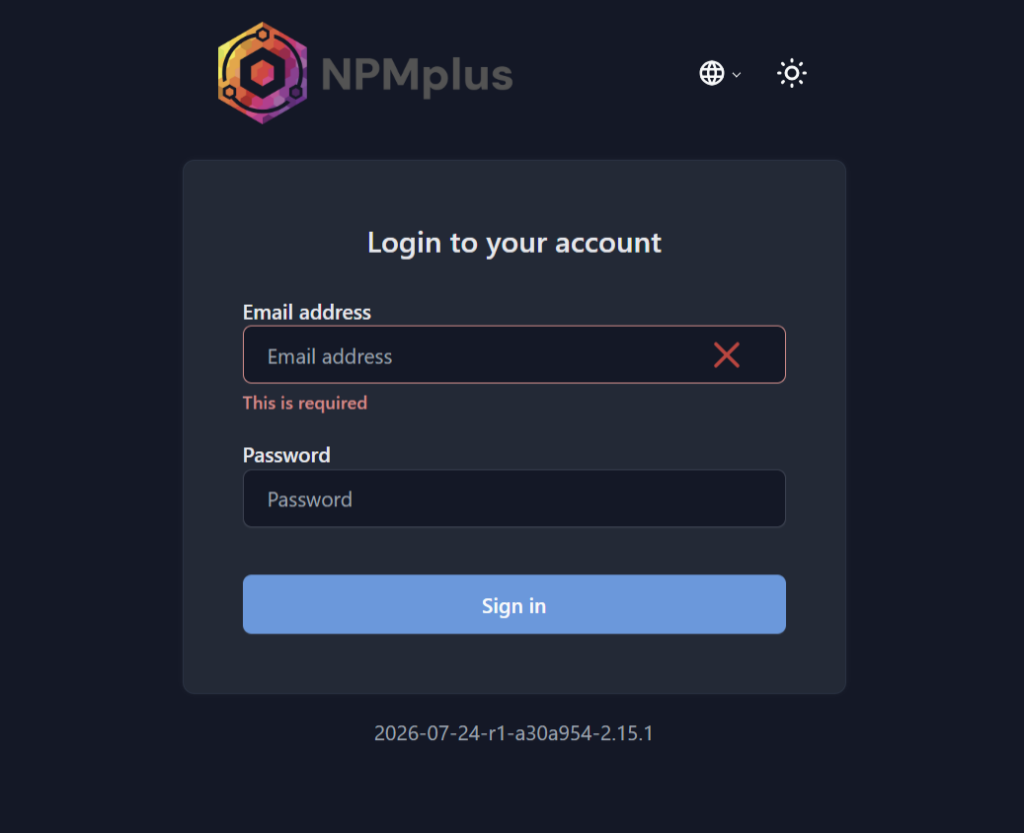
And login with the INITIAL_ADMIN_EMAIL & INITIAL_ADMIN_PASSWORD values you setted up
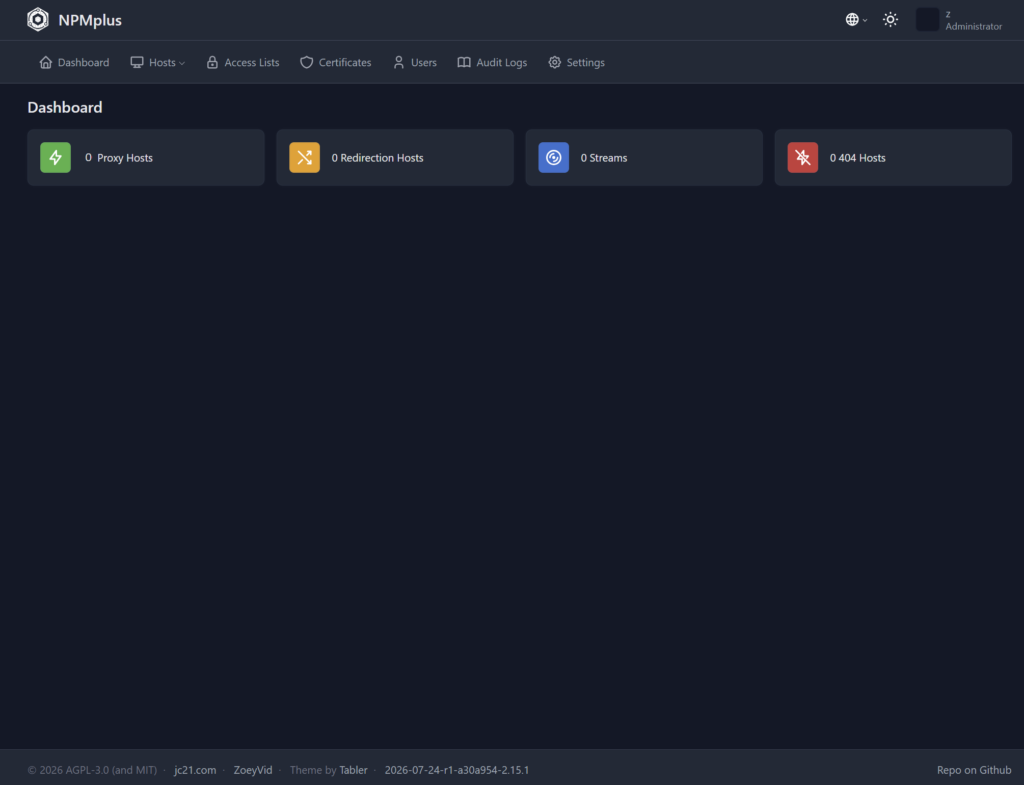
Now lets deploy CS Security Engin, to do that, deploy en new custom app: Apps > Applications > Discover click Custom App and configure it like that:
- Application name # up to you
- name : crowdsec # as example
- Image Configuration
- Repository : docker.io/crowdsecurity/crowdsec
- Tag : latest
- Container Configuration
- Timezone : your time zone
- Environment Variable # Following NPMPlus doc https://github.com/ZoeyVid/NPMplus/blob/develop/README.md#crowdsec
- USE_WAL = true
- COLLECTIONS = ZoeyVid/npmplus
- ENROLL_KEY = …
- ENROLL_INSTANCE_NAME = …
- ENROLL_TAGS = …
- Network Configuration # You’ll be required to map two port to expose the CS API
- Host 7422, Container 7422, Protocol TCP
- Host 8080, Container 8080, Protocol TCP
- Storage Configuration
- Type : Host Path, Mount Path : /etc/crowdsec, Host Path : /mnt/tank/cs # as example
- Type : Host Path, Mount Path : /etc/crowdsec/data, Host Path : /mnt/tank/cs/data # as example
- Type : Host Path, Mount Path : /opt/npmplus/nginx, Host Path : /mnt/tank/npmp/nginx, Read Only : true # The NPMPlus directory you setted-up previously
After configuring the CS Security Engine run docker 'exec crowdsec cscli bouncers add npmplus' and save the API key of the output. Then edit /mnt/tank/npmp/crowdsec/crowdsec.conf (path may be different depending how you installed NPMPlus), in crowdsec.conf set ENABLED = true, set API_KEY to the value you get previously and save the file.
Restart NPMPlus.
At this step all is setted up, if you have some issues do not hesitate to comment this post.
Leave a Reply